Submitted by Cindy Cockell
I cut my binding 2 ½”. Leave a tail at the beginning about 8”-10”. Sew the binding all the way around and stop about 8”-10” from the end. Take the quilt out of the machine.
Note: I sew my binding with my needle in position 4 (5/16” wide, or half way between ¼” and 3/8”).
When you wrap the binding around to the seam line at the back it should be full of batting and no gaps. Find the perfect width on your machine by trying different settings.
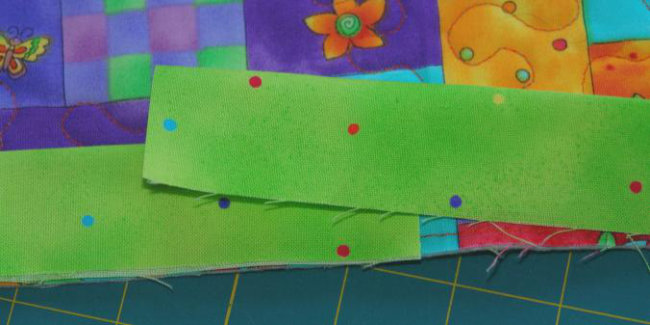
Overlap the two ends the distance = the size you cut your binding, so in my case the overlap = 2 ½” (see image 1). Cut the excess away.
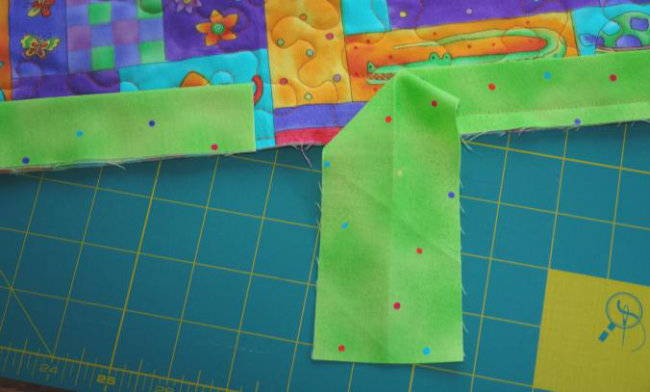
Now the tricky parts. Open the right hand side and turn in down towards you (image 2).
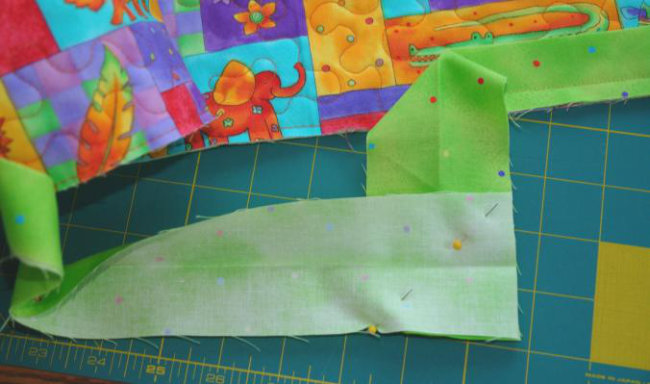
Then open the left hand side and lay it over top like you do when sewing 2 pieces of binding together (picture 3). Now pin as shown in image 3.
Carefully fold the binding so it lies on the quilt. It should fit perfectly with no twists (image 4). If not check what you’ve done. If it does fit then open it up and sew from corner to corner along the pin line.
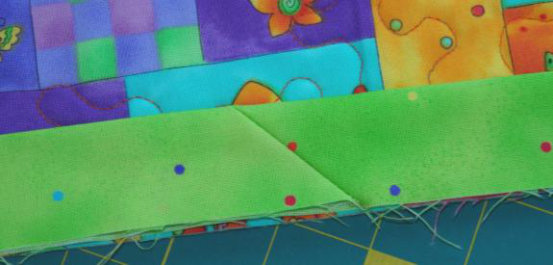
Check the fit one more time and if it’s OK then trim the seam allowance to ¼”, press open, fold the binding in half again and finish sewing.